Headline :
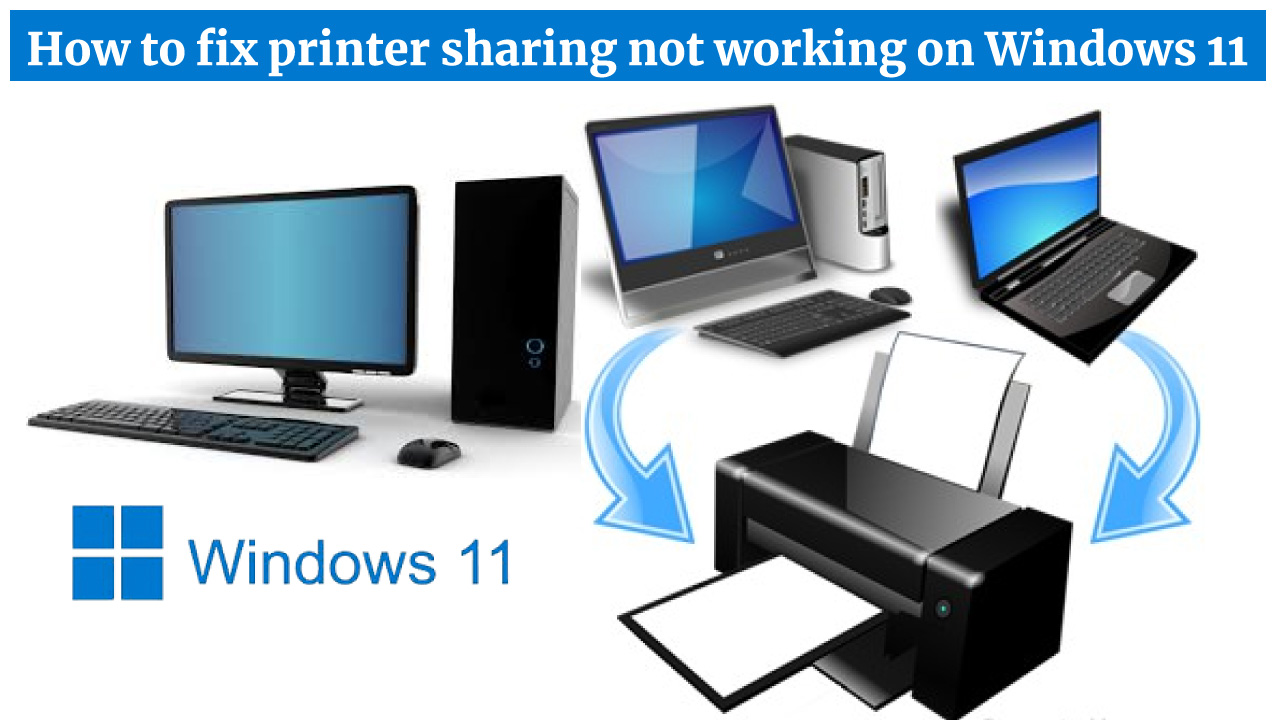
How to fix printer sharing not working on Windows 11

Printer sharing issues on Windows 11 can be frustrating, but there are several steps you can take to troubleshoot and potentially resolve the problem. Here’s a step-by-step guide to help you fix printer sharing not working on Windows 11:
- Check Network Connection: Ensure that both the computer trying to access the shared printer and the computer hosting the printer are connected to the same network (wired or wireless).
- Enable File and Printer Sharing: On the computer that has the printer connected, make sure that “File and Printer Sharing” is enabled in the network settings. Here’s how:
- Open the “Settings” app.
- Go to “Network & Internet.”
- Select “Ethernet” or “Wi-Fi” based on the type of connection you are using.
- Under “Related settings,” click on “Change adapter options.”
- Right-click on your network connection and select “Properties.”
- Check the box for “File and Printer Sharing for Microsoft Networks.”
- Share the Printer: Make sure the printer is shared on the computer it’s connected to. Here’s how:
- Open the “Settings” app.
- Select “Devices” then “Printers & scanners.”
- Select the printer you want to share.
- Click on “Manage.”
- Toggle on “Share this printer.”
- Adjust Firewall Settings: Sometimes, firewalls can block printer sharing. Temporarily disable your firewall and see if printer sharing starts working. If it does, you’ll need to create a rule to allow printer sharing through the firewall.
- Use the Correct Printer Drivers: Ensure that the computer trying to access the shared printer has the correct printer drivers installed. Download and install the drivers from the printer manufacturer’s website if necessary.
- Check Sharing Permissions: Verify that the user accounts on both the host and client computers have appropriate sharing permissions. Make sure the user trying to access the shared printer has the necessary permissions.
- Restart Devices: Sometimes, a simple restart can resolve connection issues. Restart both the computer hosting the printer and the computer trying to access it.
- Use Advanced Printer Sharing Settings: If basic sharing doesn’t work, you might want to use the advanced sharing settings:
- Open “Control Panel.”
- Go to “Network and Sharing Center.”
- On the left, select “Change advanced sharing settings”.
- Ensure that the option to “Turn on file and printer sharing” is chosen.
- Additionally, choose the box next to “Turn on sharing so anyone with network access can read and write files in Public folders.”
- Check Network Discovery: Confirm that network discovery is enabled on both computers:
- Open the “Settings” app.
- Go to “Network & Internet.”
- Click on “Network and Sharing Center.”
- Ensure “Network discovery” is activated.
- Restart Print Spooler Service: Sometimes restarting the Print Spooler service can help:
- Open the Run dialog box by pressing Win + R.
- Type “services.msc” and press Enter.
- Find “Print Spooler” in the list, right-click it, and select “Restart.”
- Update Windows and Drivers: Ensure that both computers are running the latest Windows updates and drivers.
- Consider HomeGroup Alternatives: HomeGroup, a feature for easy sharing, was removed from Windows 10 and later. You might need to explore alternatives like direct printer sharing or using a network-attached printer.
- Check for Third-Party Software Conflicts: Sometimes, third-party security software or network management tools can interfere with printer sharing. Temporarily disable such software to see if it makes a difference.
Remember to apply these steps systematically and check if the issue is resolved after each step. If the problem persists, it might be helpful to consult Windows 11’s official support resources or seek assistance from relevant tech forums.
আপনার মতামত লিখুন :
Leave a Reply
More News Of This Category
এক ক্লিকে বিভাগের খবর


